
Excavator transmission parts troubleshooting is the systematic process of diagnosing and resolving failures in hydraulic motors, final drives, clutches, and gearboxes. Done right, it cuts downtime and extends equipment life by years.
Key Takeaways
- Early symptom recognition: abnormal noises, slow movement, and fluid leaks signal transmission trouble before it becomes catastrophic.
- Structured diagnostics: follow a step-by-step checklist covering fluid checks, pressure tests, and visual inspections.
- Data-driven repair decisions: weigh costs, part availability, and failure severity to choose between repair and replacement.
- Preventative maintenance pays: regular fluid changes, filter swaps, and contamination control reduce failure risk significantly.
- Part sourcing matters: OEM or certified aftermarket components are the only reliable choice for transmission repairs.
- Swing gearbox and travel motor faults require dedicated diagnostic steps separate from the main gearbox.
Understanding Excavator Transmission Systems

How Power Flows Through the Transmission
Engine power in a modern excavator travels through a series of hydraulic and mechanical components to move the tracks, swing the cab, and drive the boom. The hydraulic motor converts pressurized fluid into mechanical rotation. The final drive then reduces speed and multiplies torque at the track sprocket. Clutches and gear sets control engagement and speed ratios, while drive shafts link each assembly. According to YNF Machinery, the transmission error change rate must stay below 5% under normal load to guarantee efficiency. Any deviation above that threshold indicates wear, maladjustment, or internal damage.
Core Components and Their Roles
Excavator transmission parts fall into three functional groups:
- Hydraulic motors and final drives: deliver power to the tracks and swing mechanism.
- Clutches, gears, and shafts: control engagement and speed ratios.
- Bearings, seals, and housings: protect internal parts and retain lubricant.
Understanding these groups is the foundation of effective excavator transmission parts troubleshooting, because failures almost always cluster within one category rather than spreading randomly across the system.
Recognizing Symptoms of Transmission Trouble
Abnormal Noises and Vibrations
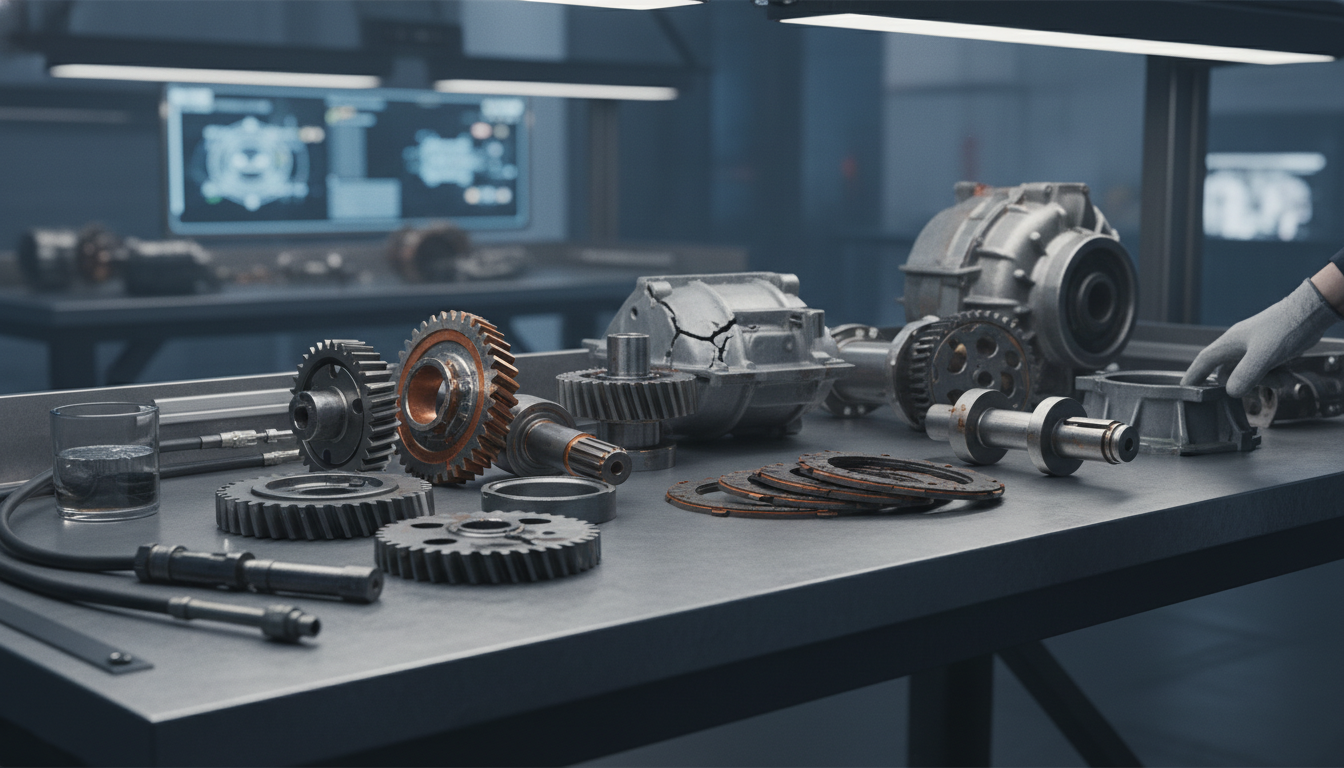
Unusual sounds are the first warning most operators notice. A grinding noise points to worn gears or bearings in the final drive. A whining sound often indicates hydraulic pump cavitation. Knocking suggests loose components or damaged shafts. Vibration during rotation points to misalignment, imbalanced parts, or worn bearings. Ignoring these signals accelerates failure and inflates repair costs well beyond what early intervention would have cost.
Slow or Jerky Movement
Sluggish travel, hesitation, or jerking during acceleration all indicate pressure loss, contaminated fluid, or internal wear. A weak charge pump, clogged filters, or worn clutch packs are the most frequent culprits. In some cases, a faulty speed control solenoid prevents the machine from reaching full operating speed entirely.
Fluid Leaks and Overheating
Hydraulic fluid or gear oil pooling under the machine confirms a seal, gasket, or O-ring failure. Leaks reduce system pressure and cause progressive power loss. Overheating, defined as sustained temperatures above 80°C (176°F) for most gearbox assemblies, signals inadequate lubrication or a blocked cooling circuit. Both conditions require immediate attention to prevent catastrophic internal damage.
Step-by-Step Excavator Transmission Parts Troubleshooting
Step 1: Safety and Preliminary Checks
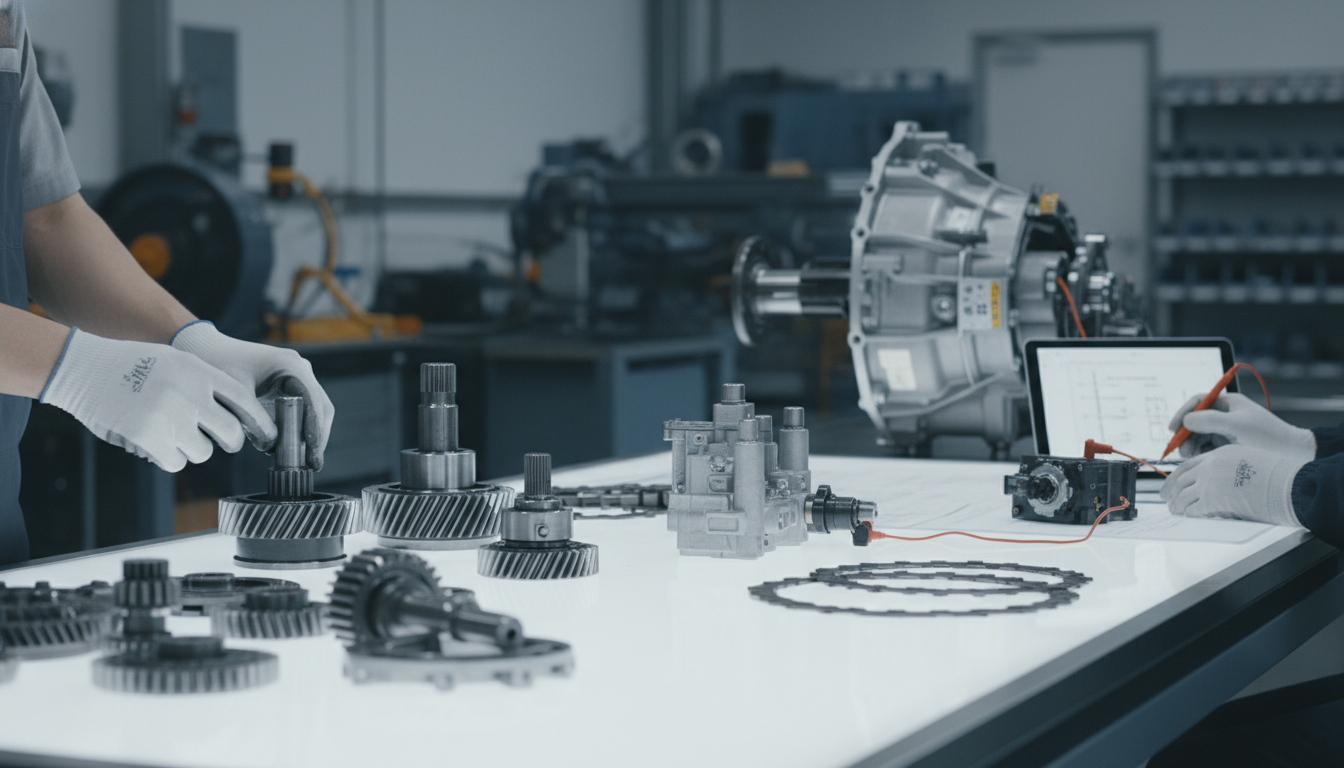
Park the excavator on level ground, engage the parking brake, and relieve all hydraulic pressure before touching anything. Gather the OEM service manual, a calibrated pressure gauge, and basic hand tools. Check transmission fluid level and condition first. Milky fluid indicates water contamination. Dark, burnt-smelling fluid signals thermal degradation. Either condition demands a full fluid change before further testing.
Step 2: Visual and Auditory Inspection
Inspect for leaks, cracked housings, loose bolts, and damaged hoses across the entire drivetrain. Start the engine and cycle the transmission through all operating ranges while listening carefully for abnormal sounds. A mechanic’s stethoscope or a long screwdriver pressed against the housing helps isolate the exact noise source. Check for vibration by placing your hand on stationary panels while the machine runs at low idle.
Step 3: Pressure and Performance Tests
Connect a pressure gauge to the test ports specified in your OEM service manual. Compare live readings against published specifications. Low pressure points to pump wear, a faulty relief valve, or internal leakage past worn seals. Run speed and torque tests under load. A drop of more than 10% from the OEM baseline typically confirms a measurable internal problem that requires component-level attention.
Step 4: Component Inspection and Disassembly
Drain all fluids and inspect the magnetic drain plug closely. Metal shavings on the plug confirm internal wear. Remove inspection covers and examine gears, bearings, and clutch packs for pitting, scoring, or discoloration. Measure backlash and endplay with a dial indicator and compare against OEM tolerances. Replace any part showing visible damage or clearance outside specification.
Step 5: Electronic Diagnostics (If Equipped)
Modern excavators from Caterpillar, Komatsu, and Volvo store fault codes in the ECU. Connect a compatible diagnostic scan tool and retrieve all active and stored codes related to the transmission control module. Common fault codes flag solenoid failures, speed sensor faults, and CAN bus communication errors. Always resolve electronic faults before assuming the problem is purely mechanical.
Swing Gearbox Fault Finding
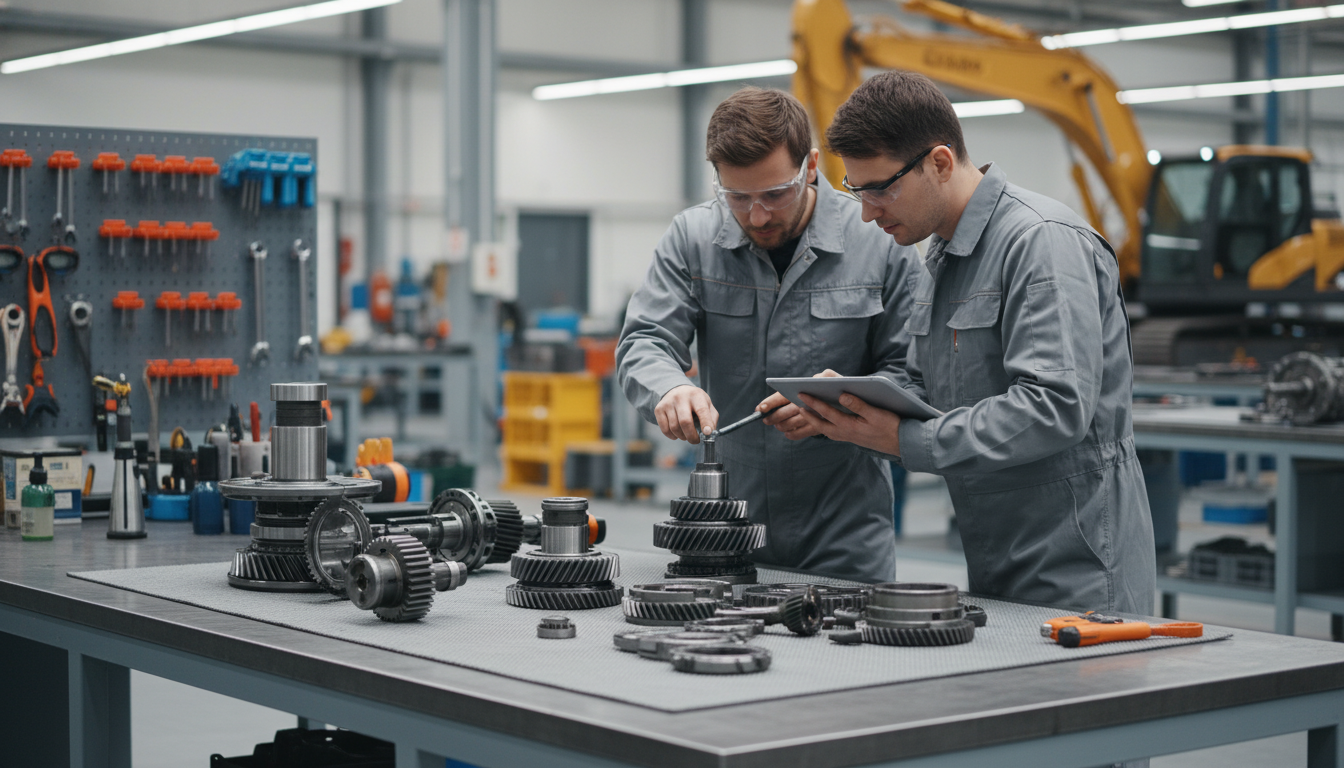
Swing gearbox failures are among the most misdiagnosed issues in excavator transmission parts troubleshooting, because symptoms often mimic hydraulic motor problems rather than gear failures. The swing gearbox transfers power from the swing motor to the upper structure, operating under high cyclic loads every time the cab rotates.
Common Swing Gearbox Symptoms
- Grinding or clunking on swing initiation: worn planetary gears or a damaged ring gear.
- Swing drift or inability to hold position: worn swing brake pads or a faulty brake release valve.
- Oil leaking from the swing motor housing: failed shaft seals, typically caused by back-pressure from a blocked case drain line.
- Overheating swing motor: insufficient case drain flow or contaminated oil restricting internal clearances.
Swing Gearbox Diagnostic Steps
Start by checking swing motor case drain flow against OEM specifications. Excessive case drain flow confirms internal motor wear. Next, inspect the planetary gear set for pitting and measure gear backlash. Check the swing brake for proper release pressure, typically in the 25-35 bar range depending on the model. Replace the swing motor shaft seal if case drain pressure exceeds the manufacturer’s limit. Per HZPT’s gearbox engineering guidelines, planetary gear sets in swing assemblies should be inspected every 2,000 operating hours as a minimum interval.
Travel Motor Problem Diagnosis
Travel motor failures are a distinct category within excavator transmission parts troubleshooting and require a focused diagnostic approach separate from the main gearbox. The travel motor drives the final drive, so a fault here affects straight-line tracking and overall machine mobility.
Common Travel Motor Symptoms
- Machine pulling to one side: unequal pressure or flow between the two travel motors.
- Slow travel speed on one track: worn motor internals or a partially blocked travel control valve.
- Travel motor overheating: blocked case drain, low charge pressure, or contaminated hydraulic fluid.
- Complete loss of travel on one side: failed motor shaft, broken coupling, or seized final drive.
Travel Motor Diagnostic Steps
Cross-test the two travel circuits by swapping hydraulic hoses at the motor inlets. If the pulling problem follows the hoses, the fault is in the hydraulic circuit upstream. If the problem stays on the same side, the motor or final drive is the source. Check case drain flow on both motors and compare. A difference of more than 20% between the two sides indicates internal wear on the higher-flow motor. Inspect the travel motor speed sensor if the machine has electronic travel control, as a faulty sensor can trigger false speed limiting.
Comparing Mechanical and Hydraulic Transmission Issues
Transmission problems fall into two broad categories: mechanical (gears, bearings, shafts) and hydraulic (pumps, motors, valves). The table below outlines their distinct symptoms, causes, and diagnostic focus areas to help you direct your excavator transmission parts troubleshooting effort efficiently.
| System Type | Common Symptoms | Typical Causes | Troubleshooting Focus |
|---|---|---|---|
| Mechanical (Gearbox/Final Drive) | Grinding, knocking, vibration, metal in oil | Worn gears, pitted bearings, broken shafts, misalignment | Inspect gear contact patterns, measure backlash, check oil for debris |
| Hydraulic (Motor/Pump) | Slow movement, loss of power, overheating, cavitation whine | Low fluid, clogged filters, internal leakage, worn pump components | Check pressure, flow rate, fluid condition, and relief valve settings |
Repair or Replace? Making Cost-Effective Decisions
Evaluating Repair Feasibility
When a component fails, assess repair complexity, parts cost, and expected downtime together. Minor leaks or a worn clutch pack are usually repairable on-site with standard tooling. Severely damaged final drive gear sets are a different story. Replacement often costs less over the long term once you factor in labor hours, repeat failure risk, and lost production time. A remanufactured final drive for a mid-size excavator typically runs in the range of $3,500 to $5,000, while a complete new OEM unit can exceed $8,000. Get quotes for both before committing.
Availability and Lead Time
Excavator transmission parts troubleshooting often ends with a part order, and lead time can be as damaging as the failure itself. TVH, one of the largest industrial parts distributors globally, stocks over 46 million item numbers and 930,000 references, achieving 95% same-day shipment across North America and Europe. Back-ordered OEM components from the original manufacturer can immobilize a machine for weeks. Factor shipping urgency and local supplier depth into every repair decision.
Sourcing Quality Replacement Parts
Whether you choose OEM, aftermarket, or rebuilt components, verify certifications before ordering. Look for ISO 9001 or CE marks as a baseline manufacturing standard. Parts for Caterpillar, Komatsu, Volvo, and John Deere all have multiple supplier options at varying price points. Cross-reference part numbers using OEM databases to confirm compatibility before purchase. At 3GEN Export, we supply OEM-standard transmission components for over 40 equipment brands with verified global delivery in as few as 5 days. Browse our parts categories or explore our brand pages to find the exact component you need.
Pros and Cons of Aftermarket vs. OEM Transmission Parts
Pros
- OEM parts: guaranteed fit, full manufacturer warranty, and direct compatibility with ECU calibration on electronically controlled models.
- High-quality aftermarket: typically 30-50% less cost than OEM while meeting equivalent dimensional and material specifications.
- Remanufactured units: full disassembly, wear part replacement, and load testing before shipment, often with a 12-month warranty.
- Wider availability: aftermarket suppliers often stock fast-moving items like seal kits, bearings, and clutch packs when OEM is back-ordered.
Cons
- OEM parts: premium pricing and longer lead times from regional distribution centers can extend downtime on urgent repairs.
- Low-quality aftermarket: uncertified parts from unknown suppliers may fail prematurely and void existing warranties on other components.
- Remanufactured units: core charge requirements and return logistics add complexity, especially for remote job sites.
Common Mistakes During Excavator Transmission Parts Troubleshooting
Skipping the Service Manual
Every excavator model carries unique pressure specifications, torque values, and assembly tolerances. Using generic industry numbers leads to misdiagnosis and incorrect repairs. Always reference the exact OEM service manual for your machine’s serial number range. Caterpillar, Komatsu, and Volvo all publish model-specific service documentation, and using the wrong revision can mean working to the wrong spec.
Neglecting Fluid Analysis
Oil condition reveals hidden wear that visual inspection misses entirely. A laboratory oil analysis typically costs $25 to $50 per sample and detects contaminant metals, water ingress, and viscosity breakdown. Many operators skip this step and end up replacing the same component twice. Send samples for analysis every 500 operating hours as a standard practice.
Replacing Parts Without Root Cause Correction
Installing a new hydraulic motor without fixing the underlying contamination source simply destroys the new part within a fraction of its expected service life. If metal debris appears on the drain plug, flush the entire system, replace all filters, and change the fluid before reassembly. Identify and eliminate the contamination source first. This single mistake accounts for a large share of repeat transmission failures we see across our customer base.
Preventative Maintenance to Avoid Failures
Fluid and Filter Schedules
Follow OEM intervals for all transmission and hydraulic fluid changes. Gear oil changes typically fall every 1,000 to 2,000 operating hours. Hydraulic oil changes run every 2,000 to 4,000 hours depending on the model and operating environment. Replace filters at the same service interval. High-temperature or dusty operations may require cutting these intervals in half. A single timely fluid change removes abrasive particles that would otherwise accelerate wear across every internal surface.
Regular Inspection Checklist
Build a daily pre-start routine around these four checks:
- Check for fresh fluid leaks under the machine before starting.
- Inspect drive motor case drain filters for metallic debris.
- Listen for new noises during the warm-up period.
- Verify track tension and look for uneven wear patterns on both sides.
A consistent 10-minute walk-around before each shift catches the early signs that prevent the majority of unplanned breakdowns, based on field maintenance data from heavy equipment fleets.
Sourcing Quality Transmission Components
OEM vs. Aftermarket vs. Rebuilt
OEM parts guarantee fit and performance but carry a price premium. High-quality aftermarket options often match OEM dimensional specifications at 30 to 50% less cost. Rebuilt components go through full disassembly, wear part replacement, and load testing before shipment. Verify the supplier’s warranty terms and return policy before ordering, particularly for high-value assemblies like final drives and swing gearboxes.
Global Supply Networks
According to TVH, their catalog covers over 46 million item numbers with 930,000 active references, supporting 95% same-day shipment across North America and Europe. Their database references parts for over 26 excavator makes, from Bobcat to Sany. For procurement teams managing fleets across multiple regions, supplier depth and shipping speed are as important as unit price when evaluating excavator transmission parts troubleshooting solutions.
“With over 46 million item numbers and 930,000 references in stock, we achieve 95% same-day shipment, ensuring minimal downtime for transmission repairs.” TVH
“Maintaining a transmission error change rate below 5% under normal load is critical for reliable excavator performance.” YNF Machinery
Frequently Asked Questions
What are the most common excavator transmission problems?
Loss of power, abnormal noise, fluid leaks, overheating, and slow or jerky movement are the most frequent complaints. These typically stem from worn clutches, failing bearings, or hydraulic pressure loss in the motor or pump circuit.
How does excavator transmission work?
The engine drives a hydraulic pump that pressurizes fluid to power the hydraulic motors. Those motors drive the final drives, which reduce speed and multiply torque at the track sprockets. Swing motors and gearboxes handle cab rotation through a separate but parallel circuit.
How do I troubleshoot a gearbox on an excavator?
Start with a fluid check and visual inspection for leaks or damage. Follow with pressure testing at OEM-specified test ports and compare readings against service manual values. If readings are within spec but performance is poor, inspect the gear set and bearings for wear using a dial indicator to measure backlash and endplay.
What are the common swing motor problems on an excavator?
Swing drift, grinding on rotation initiation, and oil leaking from the motor housing are the most common issues. Worn planetary gears, failed shaft seals, and blocked case drain lines are the typical root causes. Check case drain flow first, as it confirms internal motor condition without full disassembly.
How often should I change transmission fluid?
Most manufacturers recommend gear oil changes every 1,000 to 2,000 operating hours and hydraulic oil changes every 2,000 to 4,000 hours. Severe operating conditions, including high ambient temperatures and dusty environments, may require more frequent intervals. Always follow the OEM service manual for your specific model.
Is it better to repair or replace a failing final drive?
If damage is limited to seals, bearings, or a single gear, repair is cost-effective. Extensive gear or housing damage typically makes replacement cheaper over the long term. Compare quotes for a remanufactured unit against full repair labor before deciding, and factor in the warranty coverage each option provides.