
Hydraulic Pump Replacement Guide 2026
Follow our hydraulic pump replacement guide for OEM-spec selection, step-by-step installation, and maintenance tips. Fast global delivery at 3genexport.
Loading article…
Article Not Found
The article you're looking for doesn't exist or may have been removed.
Back to BlogA hydraulic pump replacement guide is a structured process for selecting, removing, and installing hydraulic pumps in heavy equipment systems. This covers gear, piston, and vane pump types across construction, mining, and energy applications. Read on for verified specs, real-world steps, and procurement advice from our team at 3GEN Export.
Key Takeaways
- Fluid contamination is the leading cause of hydraulic pump failure - clean the system before installing any new unit.
- Match displacement, pressure rating, shaft type, and mounting dimensions before ordering a replacement pump.
- A well-maintained pump can last between 6,000 to 10,000 hours of operation, according to manufacturer service data.
- Follow a systematic replacement process: remove, inspect, install, prime, and load-test in sequence.
- If repair cost exceeds 50% of the pump's market value, replacement is the more cost-effective path.
- Regular fluid checks and filter changes are the single highest-return maintenance actions you can take.
Understanding Hydraulic Pumps
What is a Hydraulic Pump?
A hydraulic pump is a mechanical device that converts mechanical energy into hydraulic energy, enabling fluid movement within closed-loop systems. These units are the pressure source for every actuator, cylinder, and motor downstream. Without a functioning pump, the entire hydraulic circuit stalls - and so does your equipment.
Types of Hydraulic Pumps
- Gear Pumps: Use meshing gears to displace fluid. Simple, robust, and cost-effective for moderate-pressure applications.
- Piston Pumps: Use reciprocating pistons to generate high pressure. Preferred for demanding duty cycles on excavators and drilling rigs.
- Vane Pumps: Use spring-loaded vanes to push fluid. Common in mobile equipment where smooth, low-noise flow matters.
Common Applications
Hydraulic pumps power a wide range of heavy equipment, including:
- Excavators, bulldozers, and motor graders in construction.
- Forklifts, reach stackers, and pallet jacks in warehousing and port logistics.
- Drilling rigs, longwall shearers, and haul trucks in mining.
- Hydraulic power units in energy and process industries.
How Hydraulic Pumps Work: The Mechanics
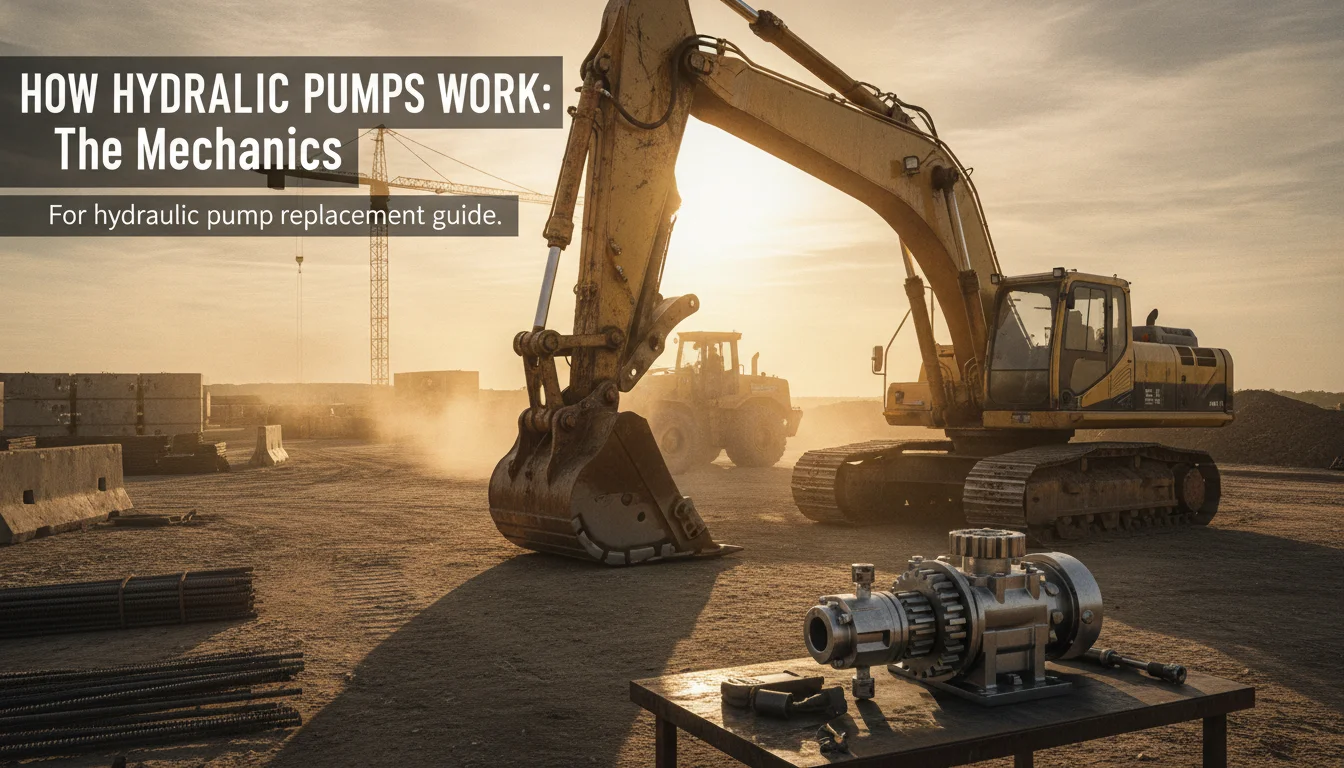
Hydraulic pumps work by creating a pressure differential that draws fluid from the reservoir and forces it into the system circuit at a controlled flow rate and pressure. Understanding this process helps you diagnose failures faster and select the right replacement the first time.
At the core, every hydraulic pump operates on a displacement principle. The pump's rotating or reciprocating element creates an expanding cavity on the inlet side, which draws fluid in. As the cavity collapses on the outlet side, it forces fluid out under pressure. The volume of fluid moved per revolution is the pump's displacement, measured in cubic centimeters per revolution (cc/rev) or cubic inches per revolution (CIR).
For gear pumps, two meshing gears carry fluid in the spaces between their teeth around the outside of the gear mesh. The fluid cannot travel back through the mesh, so it exits through the outlet port. For piston pumps, a rotating barrel holds multiple pistons. As the barrel turns against an angled swashplate, each piston strokes in and out, drawing and expelling fluid through check valves. Variable displacement piston pumps adjust the swashplate angle to change output flow without changing shaft speed - a critical feature for load-sensing circuits on modern excavators.
Vane pumps use a slotted rotor with spring-loaded vanes. As the rotor spins inside an elliptical cam ring, the vanes extend and retract, creating sealed chambers that expand and contract. The result is a smooth, relatively pulse-free flow that makes vane pumps popular in steering and braking circuits.
"When choosing a replacement pump, consider the flow and pressure specifications provided by the system manufacturer. The wrong hydraulic pump can affect the performance of your hydraulic system or reduce its lifespan." - Hydraulic.Net Technical Team, per published replacement guidance
Pressure rating and flow rate are the two numbers that define a pump's operating envelope. Pressure is measured in bar or PSI; flow is measured in liters per minute (LPM) or gallons per minute (GPM). For gear pumps, flow at a given RPM can be calculated using the gear geometry. Per Precision Fluid Power's published installation data, GPM at 1,000 RPM equals 26 multiplied by gear width multiplied by the gear diameter factor. This formula confirms why even small dimensional differences between pumps produce measurable flow changes.
Signs of Hydraulic Pump Failure
Performance Issues
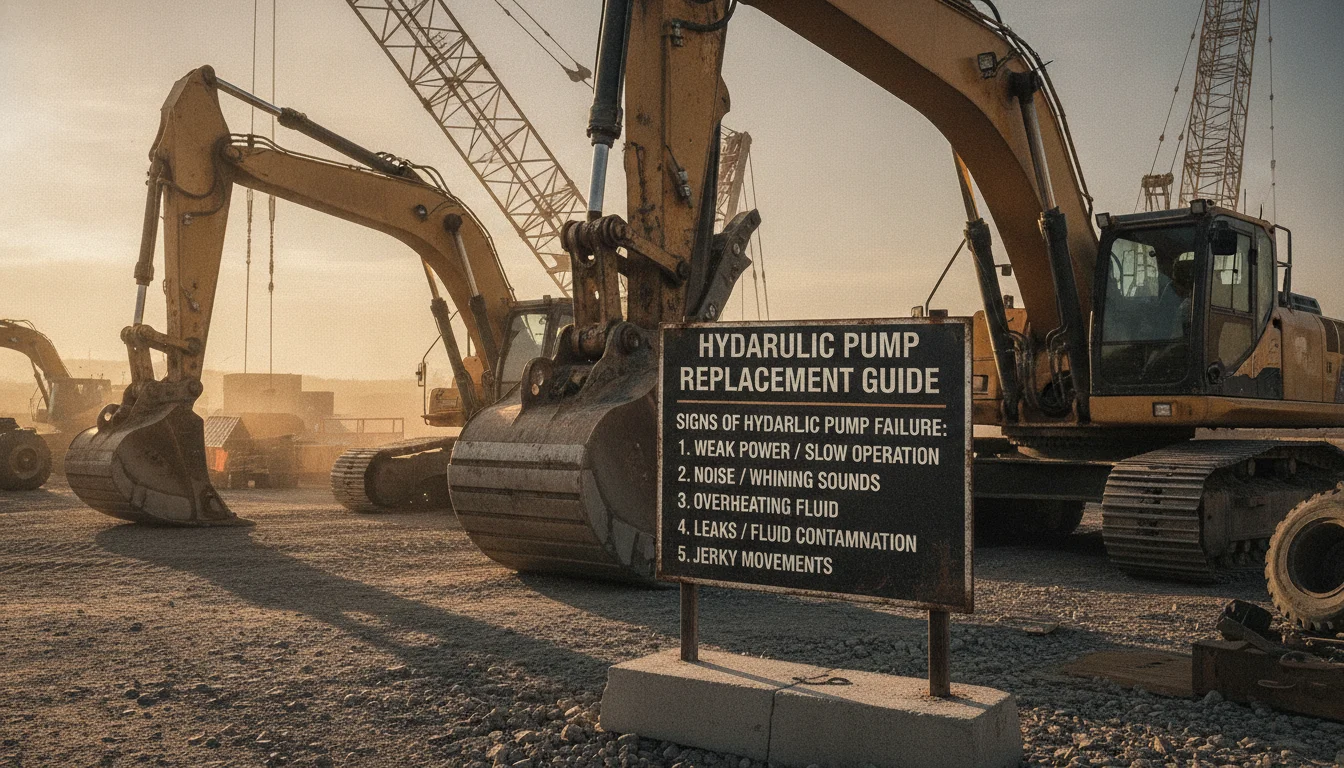
Hydraulic pump failure typically shows up as one or more of these symptoms before total breakdown occurs:
- Insufficient Pressure: The system cannot reach operating pressure, causing slow or incomplete actuator movement.
- Unstable Flow: Fluctuating output suggests internal wear on gears, pistons, or vanes.
- Abnormal Noise: Whining, knocking, or grinding sounds point to cavitation, bearing wear, or mechanical damage.
- Excessive Heat: Temperatures above 82°C (180°F) indicate fluid degradation, internal leakage, or cavitation, per industry maintenance data.
- Visible External Leaks: Shaft seal failure allows fluid to escape and contaminants to enter.
Causes of Hydraulic Pump Failure
According to manufacturer service bulletins and field maintenance data, the most common failure causes are:
- Fluid Contamination: Dirt particles and metal shavings wear internal components faster, leading to premature failure. This is the single most common cause of pump failure across all pump types.
- Excess Pressure: Operating beyond the pump's rated pressure overworks internal components and can cause catastrophic failure.
- Poor Fluid Quality: Low-viscosity or degraded fluid increases heat and friction. High-viscosity fluid causes cavitation.
- Cavitation: Vapor cavities form when inlet conditions are poor. When those cavities implode under pressure, they erode metal surfaces and contaminate the fluid.
- Excessive Temperature: Heat above 82°C (180°F) degrades seals and fluid, accelerating wear throughout the circuit.
- Uncorrected Leaks: Internal leakage reduces volumetric efficiency. External leaks allow contaminants in.
When to Replace Your Hydraulic Pump
Replace your hydraulic pump when repair costs exceed 50% of the pump's current market value, when the original model number is no longer available, or when the unit shows persistent performance decline despite correct maintenance. According to manufacturer service data, a well-maintained hydraulic pump can last between 6,000 to 10,000 hours of operation - but operating conditions, fluid quality, and duty cycle all affect actual service life.
Before committing to replacement, verify that the fault is actually in the pump. Insufficient pressure, slow action, and abnormal noise can also originate from a blocked suction filter, a faulty relief valve, or a worn hydraulic motor. Misdiagnosing the source wastes money and time.
Pros and Cons of Replacing vs. Repairing a Hydraulic Pump
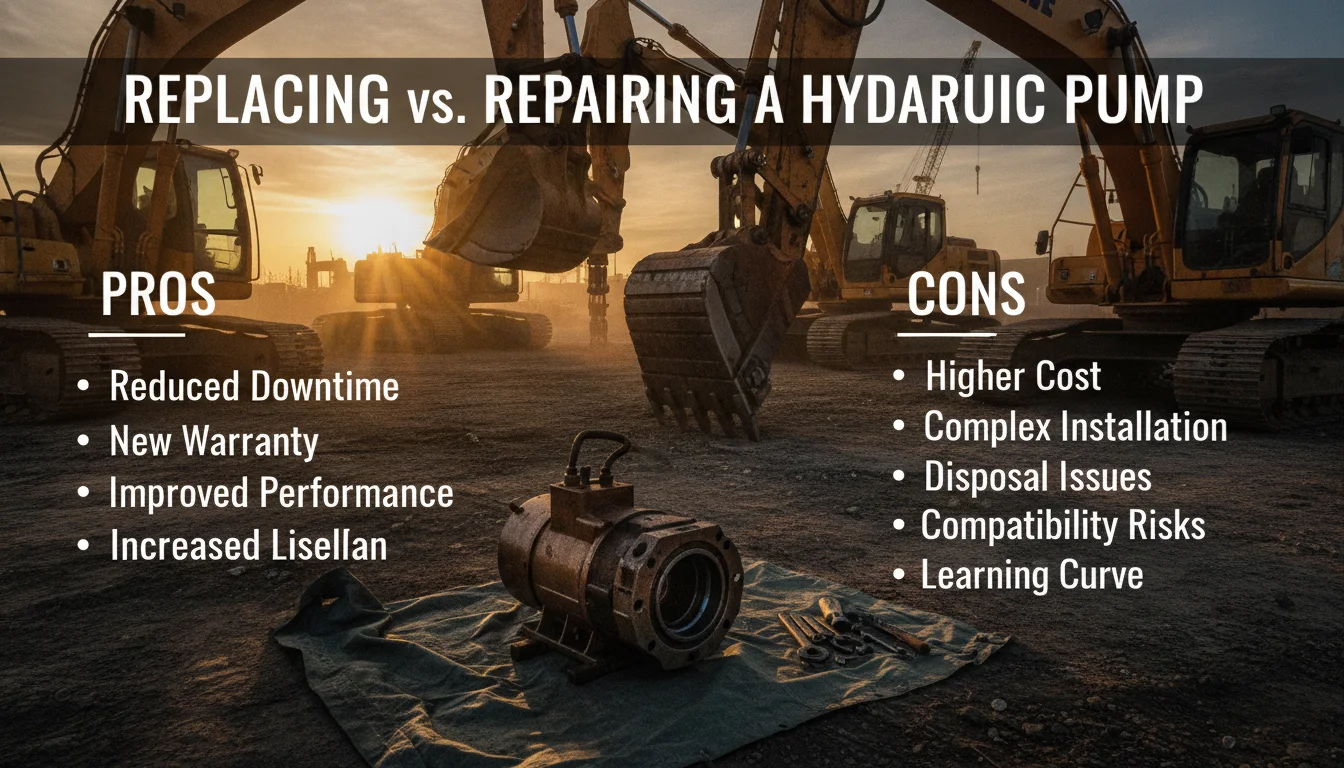
Pros
- Full performance restoration: A new OEM-spec pump returns the system to original flow and pressure ratings immediately.
- Warranty coverage: Replacement units from reputable suppliers carry warranty protection, reducing financial risk.
- Reduced downtime risk: A repaired pump may fail again sooner. A replacement unit resets the service clock.
- Opportunity to upgrade: Replacement allows you to select a unit with improved materials or better compatibility with your current circuit.
- Cleaner system baseline: Forced system flush during replacement removes accumulated contamination that shortens pump life.
Cons
- Higher upfront cost: A new pump costs more than a seal kit or bearing replacement in the short term.
- Lead time risk: Specialty pumps for older equipment may require sourcing from international suppliers, adding days to your downtime window.
- Installation complexity: Variable displacement and load-sensing pumps require careful calibration after installation - not a straightforward bolt-on job.
- Root cause must still be addressed: Replacing the pump without fixing the contamination source or pressure spike that caused failure will destroy the new unit too.
Selecting the Right Replacement Pump
Key Specifications
Selecting the correct replacement is the most critical step in any hydraulic pump replacement guide. Get this wrong and you risk damaging the new pump and the rest of the circuit.
- Displacement (cc/rev or CIR): Must match the original to maintain system flow at operating RPM.
- Pressure Rating (bar/PSI): Must meet or exceed the system's maximum operating pressure.
- Shaft Type: Keyed shaft or splined shaft - confirm this before ordering. An incorrect shaft type cannot be adapted in the field.
- Mounting Flange: SAE flange sizes and bolt patterns must match the existing mounting bracket exactly.
- Port Size and Type: Confirm thread type (BSP, NPT, SAE) and port diameter for all inlet, outlet, and case drain connections.
- Rotation Direction: Clockwise or counterclockwise - stamped on the original pump housing. Installing a pump with the wrong rotation direction will destroy it within minutes.
- Control Type (variable pumps): Pressure-compensating, load-sensing, and electro-hydraulic controls are not interchangeable even if displacement and pressure ratings match.
Pump Type Comparison Table
| Pump Type | Typical Pressure Range | Best Application | Key Advantage | Key Limitation |
|---|---|---|---|---|
| Gear Pump | Low to medium | General hydraulics, fan drives | Simple, low cost, easy to replace | Fixed displacement only |
| Vane Pump | Low to medium | Steering, mobile equipment | Smooth, low-noise output | Sensitive to contamination |
| Axial Piston Pump | Medium to high | Excavators, drilling rigs | Variable displacement, high efficiency | Complex, higher cost |
| Radial Piston Pump | High | Press machines, energy sector | Very high pressure capability | Large footprint, high cost |
Confirming Compatibility
To confirm compatibility, gather the following before contacting your supplier:
- Original pump model number from the nameplate or service manual.
- Photos of the pump showing shaft, ports, and mounting flange.
- Equipment make, model, and year of manufacture.
- Operating speed (RPM) and system pressure requirements.
- Case drain requirements for piston and vane pumps.
Per Precision Fluid Power's published installation guidance, many OEMs have used pumps from several different manufacturers for the same equipment model - meaning cross-brand replacements are often viable when the dimensional and performance specs align.
Choosing a Supplier
Select a supplier that stocks OEM-spec units, provides technical support for compatibility confirmation, and can ship globally with short lead times. At 3GEN Export, we supply hydraulic pumps for Caterpillar, Komatsu, Volvo, Atlas Copco, and 40+ other brands - with global delivery typically within five days. If the original model is discontinued, our team can identify a compatible replacement using nameplate data and equipment specifications.
Preparation for Replacement
Tools and Equipment Needed
Gather everything before you start. Stopping mid-job to find a tool extends downtime and increases contamination risk.
- Socket set and torque wrench (pump mounting bolts require specific torque values per OEM specs).
- Hydraulic line caps and plugs to seal open ports immediately after disconnection.
- Drain pan and absorbent material for fluid capture.
- Fresh hydraulic fluid matching OEM specifications.
- New filter elements for the return and suction lines.
- Cleaning supplies: lint-free rags, parts cleaner, and a clean work surface.
- Torque specifications sheet from the OEM service manual.
System Inspection
Before replacing the pump, inspect the entire hydraulic system. Installing a new pump into a contaminated or damaged circuit will shorten its service life significantly.
- Check hydraulic fluid condition. If the oil is dark, milky, or has visible particles, drain and flush the system before installing the new pump.
- Inspect suction lines, return lines, and all hose fittings for cracks, kinks, or loose clamps.
- Verify the coupling or drive shaft connecting the pump to the prime mover is in good condition.
- Check the reservoir for sludge or debris at the bottom.
Preparing the New Pump
Before installation, prepare the new pump by:
- Checking for any shipping damage to the housing, shaft, or ports.
- Confirming all specifications against the original unit and the OEM service manual.
- Installing any necessary fittings, adapters, or case drain plugs before mounting.
- Pre-filling the pump case with clean hydraulic fluid through the case drain port - this prevents dry-start damage on initial startup.
Step-by-Step Replacement Process
Step 1: Isolate and Depressurize the System
Before touching any hydraulic component, shut down the prime mover and cycle all hydraulic controls to release stored pressure. Hydraulic systems can hold pressure for extended periods after shutdown. Failure to depressurize is a serious safety risk.
Step 2: Remove the Old Pump
Begin the replacement by carefully removing the old pump:
- Place a drain pan under the pump to catch residual fluid.
- Disconnect the hydraulic lines and immediately cap all open ports to prevent contamination.
- Label each line clearly before removal - reconnecting lines incorrectly will cause immediate failure.
- Unbolt the pump from its mounting bracket, noting the torque sequence if specified.
- Carefully lift the pump clear of the system. Note the condition of the coupling or drive shaft for wear.
Step 3: Install the New Pump
Install the new pump by following these steps:
- Inspect the mounting face and clean it thoroughly before positioning the new pump.
- Position the new pump in the mounting bracket, confirming shaft alignment before tightening any bolts.
- Torque all mounting bolts to the values specified in the OEM service manual - under-torquing causes vibration; over-torquing can crack the housing.
- Reconnect all hydraulic lines to their correct ports. Tighten fittings to the specified torque - do not rely on feel alone.
- Double-check that the case drain line is connected and routed correctly before startup.
Step 4: System Start-Up and Load Testing
After installation, follow these steps to start the system safely:
- Fill the hydraulic reservoir to the correct level with fresh, OEM-specified fluid.
- Prime the pump by filling the case through the drain port if not already done.
- Start the prime mover and run the system at low pressure with no load for several minutes. Listen for abnormal noise and watch for leaks.
- Gradually increase system pressure toward operating levels, checking all connections at each stage.
- Cycle all actuators through their full range of motion to purge air from the circuit.
- Recheck fluid level after the first full cycle and top up as needed.
"Clean the hydraulic system thoroughly before installing a new pump. Ensure the hydraulic fluid is free of contaminants. Replace the filters to prevent dirt from entering the new pump. Cheap recycled hydraulic oil will significantly reduce the life of your hydraulic system." - Hydraulic.Net, published replacement guidance
Common Mistakes to Avoid
Most hydraulic pump failures after replacement trace back to a small set of avoidable errors. This section of our hydraulic pump replacement guide covers the mistakes we see most often in the field.
- Not cleaning the system first: Installing a new pump into contaminated fluid is the fastest way to destroy it. Always flush the system and replace filters before startup.
- Skipping the pre-fill step: Running a dry pump even briefly causes immediate wear on internal surfaces. Fill the case with clean fluid before the first start.
- Wrong rotation direction: A pump installed backwards will not build pressure and will fail rapidly. Confirm rotation direction from the nameplate before ordering.
- Mismatched control type: On variable displacement pumps, substituting a pressure-compensating control for a load-sensing control changes system behavior entirely. Confirm control type with your supplier.
- Ignoring the root cause: If contamination, excess pressure, or a failed relief valve caused the original pump to fail, replacing the pump without fixing the root cause will repeat the failure.
- Over-tightening fittings: Hydraulic fittings have specified torque values. Over-tightening deforms sealing surfaces and creates leak paths.
- Skipping the low-pressure break-in period: Running a new pump immediately at full load stresses components before they have seated properly. Always start at low pressure and load gradually.
Real-World Scenario: Excavator Pump Replacement
A fleet maintenance supervisor at a mid-size civil construction company contacts us about a Komatsu PC200 excavator that has lost digging force and is running hot. The machine has logged significant hours and the hydraulic fluid shows visible contamination when sampled.
Our team reviews the equipment specs and identifies the main hydraulic pump as the likely failure point. The supervisor provides the nameplate data and photos of the existing pump. We confirm the displacement, pressure rating, shaft type (splined), and SAE mounting flange dimensions. The original pump model is still available as an OEM-spec replacement unit.
We ship the replacement pump with a new filter kit and the correct hydraulic fluid specification sheet. The maintenance team follows this hydraulic pump replacement guide: they drain and flush the system, replace the suction and return filters, pre-fill the new pump case, and install the unit with a torque wrench to OEM specs. They run the system at low pressure for ten minutes before loading the machine.
Result: full pressure restored, operating temperature back within normal range, and no repeat failure. The root cause - a blocked suction strainer that had caused cavitation - was identified and corrected during the system inspection step. Skipping that inspection would have destroyed the new pump within days.
Maintenance Tips for Hydraulic Pumps
Regular Inspections
Regular inspections are the most cost-effective way to extend pump service life and avoid unplanned downtime. Check the following at each scheduled service interval:
- Fluid level and condition - look for discoloration, milkiness, or visible particles.
- All external fittings and hose connections for seepage or weeping.
- System pressure and flow at key test points, compared against baseline values.
- Noise and vibration levels during operation.
Fluid Management
Proper fluid management is the single most impactful maintenance action for pump longevity. Follow these practices:
- Use only the hydraulic fluid grade and viscosity specified by the OEM. Do not substitute cheaper alternatives.
- Replace hydraulic fluid according to the manufacturer's recommendations - typically every 1,000 to 2,000 hours of operation or annually, whichever comes first.
- Change suction and return filters at every fluid change, and check differential pressure indicators between changes.
- Keep the reservoir breather clean to prevent airborne contamination from entering the system.
- Sample fluid regularly for particle count analysis if your operation runs multiple machines - lab analysis catches contamination before it causes failure.
Pro Tip: Fluid Sampling
Pro Tip: Fluid sampling and analysis is standard practice in mining and energy operations. A basic oil analysis kit costs a fraction of a pump replacement and can detect metal particle contamination - the early warning sign of internal wear - weeks before performance drops. If you manage a fleet of more than three or four machines, build fluid sampling into your PM schedule.
Professional Servicing
For variable displacement pumps, load-sensing systems, or any installation where control calibration is required, professional servicing is the right call. Incorrect calibration of a pressure-compensating pump can cause pressure spikes that damage downstream components across the entire circuit.
2026 Outlook: Hydraulic Pump Procurement Trends
As of 2026, global supply chains for hydraulic components have stabilized after several years of disruption, but lead times for specialty piston pumps and variable displacement units remain longer than pre-2020 norms for some OEM part numbers. Procurement managers are increasingly sourcing OEM-spec replacement units from specialist exporters rather than waiting on regional dealer networks.
The shift toward electro-hydraulic controls on new equipment means that this year, more replacement jobs require confirming control compatibility - not just displacement and pressure. If your equipment was manufactured after 2018, verify the control type before ordering any replacement pump.
At 3GEN Export, we've seen growing demand for Caterpillar and Komatsu hydraulic pump replacements from construction fleets in Southeast Asia, the Middle East, and Sub-Saharan Africa - regions where dealer network coverage is thinner and fast international shipping is the practical solution. Our five-day global delivery capability exists specifically to close that gap.
Frequently Asked Questions
What are the steps involved in replacing a hydraulic pump?
The core steps are: depressurize the system, remove the old pump with all lines capped, inspect the system for contamination and damage, install and torque the new pump to OEM specs, pre-fill the pump case, and conduct a staged startup from low pressure to full operating load. Skipping the system inspection step is the most common cause of repeat failure after replacement.
What is the most common cause of hydraulic pump failure?
Fluid contamination is the most common cause of hydraulic pump failure, according to manufacturer service data and field maintenance records. Dirt particles and metal shavings accelerate wear on internal components. Always flush the system and replace filters before installing a new pump.
How do I know what size hydraulic pump I need?
Match the replacement pump to the original unit's displacement (cc/rev or CIR), pressure rating, shaft type, and mounting dimensions. If the original nameplate is unreadable, provide photos and equipment model information to your supplier - most specialist exporters can identify the correct replacement from this data. Do not select a pump based on pressure rating alone.
What are the 7 rules of hydraulics?
The foundational principles of hydraulics include: pressure acts equally in all directions in a confined fluid, flow determines actuator speed, pressure determines actuator force, fluid takes the path of least resistance, cleanliness is critical to system life, heat is the enemy of hydraulic fluid, and all components must be rated for the system's maximum pressure. These principles guide every decision in a hydraulic pump replacement guide, from pump selection to startup procedure.
Can I replace a hydraulic pump myself?
Yes, for gear pumps and fixed-displacement units on straightforward circuits, a competent maintenance technician with the right tools and OEM service documentation can complete the replacement. Variable displacement pumps with load-sensing or electro-hydraulic controls require calibration after installation - that work should be handled by a qualified hydraulic technician to avoid damaging the circuit.
When should I repair rather than replace a hydraulic pump?
Repair makes sense when the pump is a specialty unit with long lead times, when only seals or bearings have failed, and when repair cost stays well below 50% of the pump's market value. If repair cost exceeds 50% of market value, or if the pump has already been repaired multiple times, replacement is the more reliable and cost-effective choice, per industry maintenance guidance.